Create a Payreq account to receive and manage bills, pay statements, tax documents and other documents sent to you through Payreq.
Use an email address that you can access regularly. If your account will receive personal documents, such as pay statements or tax documents, use a personal email address that you control rather than a shared or work address.
Create your account
- Go to go.payreq.com.
- Select Create Account below the sign-in form.
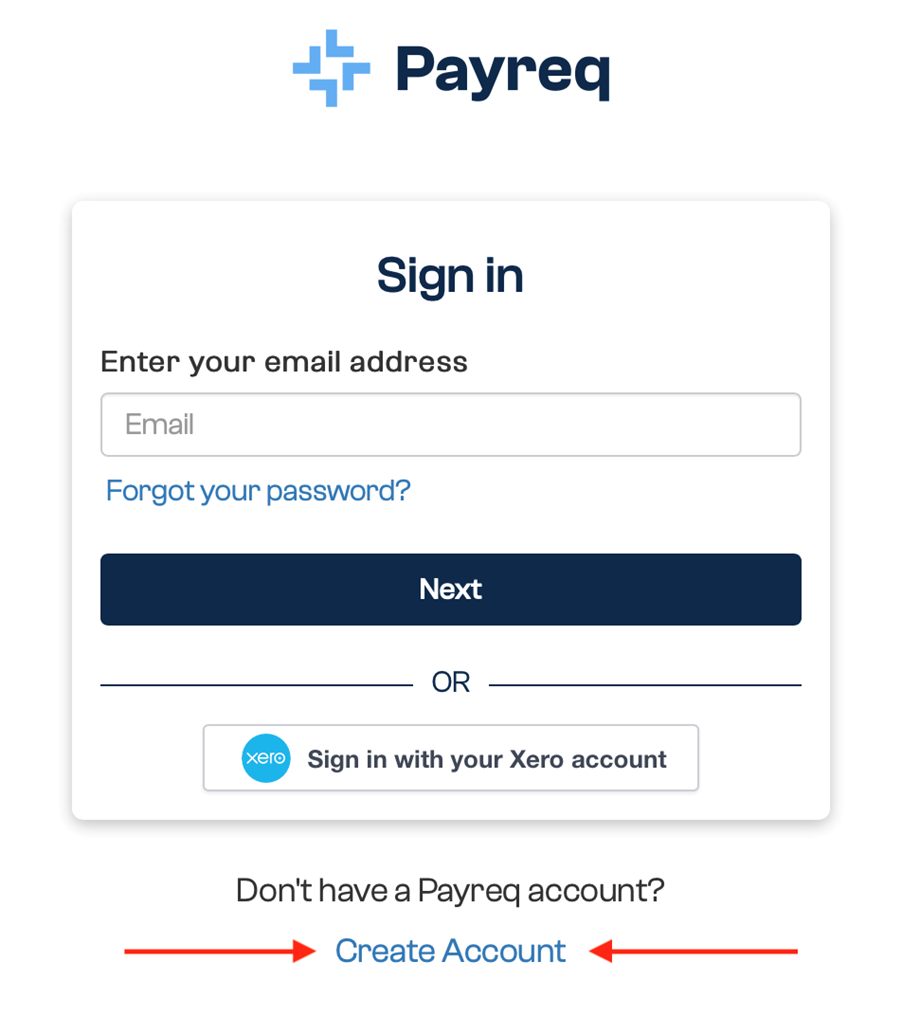
Enter the email address you want to use for your Payreq account, then select Continue. If the email address is already associated with an account, Payreq returns you to the sign-in page.
Enter the requested account details and create a password. Follow the password requirements shown on the page and make sure the password-strength indicator turns green.
Review and accept the terms and conditions, then select Create account.
Verify your email address
Payreq sends a verification email to the address you entered.
- Open the verification email.
- Select the verification link.
- Follow the instructions to finish verifying your account.
If the email does not arrive:
- wait a few minutes, then check again;
- check your junk or spam folder;
- use Resend verification email on the verification screen; and
- add
mail.payreq.comto your safe-senders list if your email service supports one.
If you still cannot verify your email address, contact Payreq Support.
Start receiving documents
Creating an account does not automatically connect it to the organisation sending your documents. You must also create a subscription with the organisation that sends your bills, notices, pay statements or tax documents.
See Creating and managing a subscription for the next steps.
Was this article helpful?
That’s Great!
Thank you for your feedback
Sorry! We couldn't be helpful
Thank you for your feedback
Feedback sent
We appreciate your effort and will try to fix the article