Navigating the Settings section in Payreq Delivery
The Settings tab in your Payreq Delivery account gives you access to powerful configuration options that help you manage your delivery preferences, agent relationships, payment setup, and more. This article provides a quick overview of each section available under the Settings tab and how to use them effectively.
How to Access the Settings
Log in to your Payreq Delivery account.
From the top navigation menu, click on Settings.
You’ll land on the Mailer tab by default, with a range of other tabs across the top of the page.
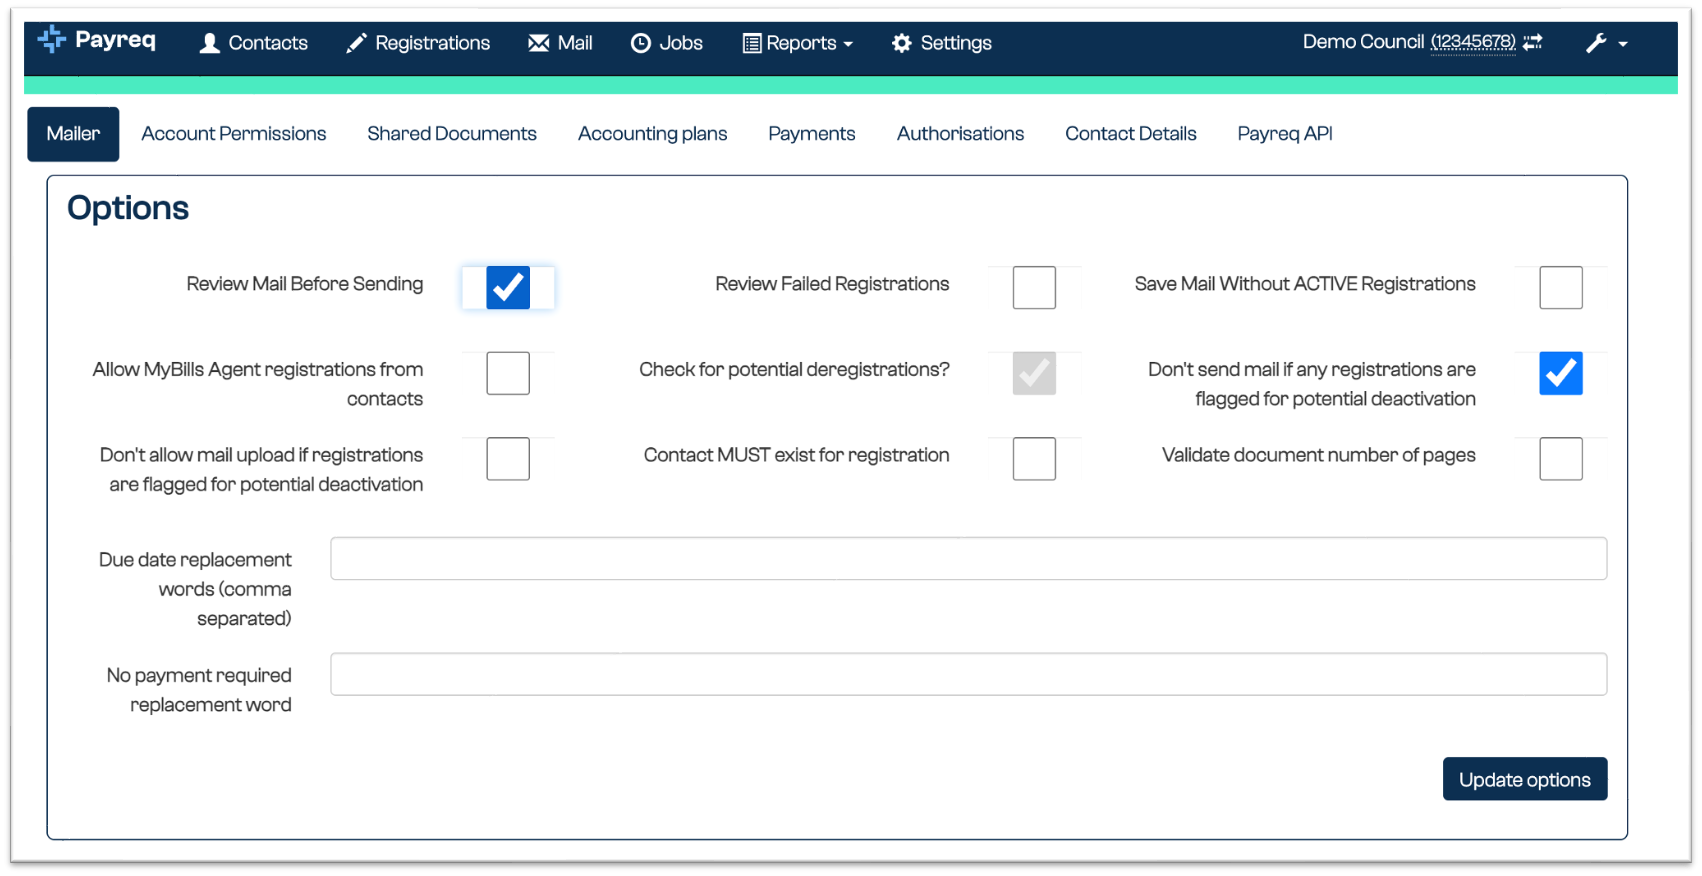
1. Mailer (Default Tab)
This tab contains your Mailer Options, which determine how documents are handled before and during delivery. Some of these options include:
Review Mail Before Sending: When enabled, new mail uploads require manual approval before sending.
Check for potential deregistrations?: Prevents sending documents if any contacts are flagged for deregistration.
Don’t send mail if any registrations are flagged for potential deactivation: Adds another layer of protection against misdelivery.
Additional settings let you define custom due date terms and replacement words.
Changes can be made by selecting/deselecting checkboxes and clicking Update options.
Most organisations will have these options pre-configured during onboarding. Check with your mailhouse partner or Payreq support before making changes.
Read more: What are Mailer Options and How Do I Update Them?
2. Account Permissions
This section manages access levels for your organisation’s users. You can:
Add or remove user access
Assign roles such as Admin, Approver, or Viewer
Restrict access to specific features or data
Read more: Managing Payreq Delivery users - add, update, remove
3. Shared Documents
A secure document storage area used for exchanging files between Payreq and your organisation.
Upload sensitive documents (e.g. reconciliation files, audit logs) here instead of sending by email.
Download files Payreq has made available to you.
Acts as a secure, traceable alternative to email attachments.
4. Accounting Plans
This section outlines your commercial agreement with Payreq, including:
Plan name and type
Pricing or billing cycle information
Only Admin-level users will typically need to reference this section.
5. Payments
If you’ve enabled Payreq Payments, this section provides:
Gateway configuration: Manage your payment gateway connection.
Transaction history: View payment activity, statuses, and reconciliations.
Disbursement reports: Track when payments have been settled into your nominated account.
6. Authorisations
Use this section to manage Payreq MyBills Agent (group) account delegations. For example:
Approve or revoke MyBills Agents who receive documents on behalf of property owners.
Assign authorisation windows (start/end dates).
View current and historical agent relationships by property.
7. Contact Details
Add or update the contact information we should use to contact you or we can provide to customers when necessary.
Include a sender name, support email address, and phone number.
This helps route customer queries appropriately.
8. Payreq API
This area provides technical users with:
API documentation
API credentials and keys
Endpoint configuration tools
Your developers or integration team can use this to connect Payreq with your internal systems for custom workflows.
Need help updating a setting? Create a support ticket
Was this article helpful?
That’s Great!
Thank you for your feedback
Sorry! We couldn't be helpful
Thank you for your feedback
Feedback sent
We appreciate your effort and will try to fix the article